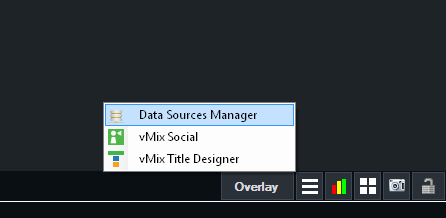
1. Open up the Data Sources Manager from the  menu in the bottom right hand corner of the main vMix window.
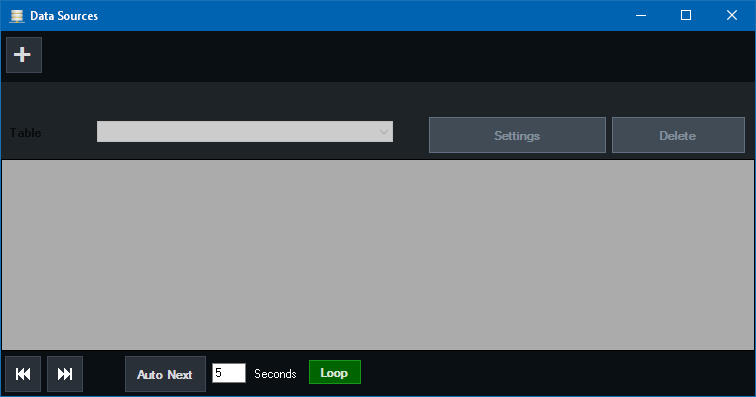
2. The following window will appear. click the  button to add the first Data Source
3. Once added, a window will appear where you can type either the web address to the data file or browse for it on the local computer.
Depending on the Data Source type, a number of other settings may appear in this window.
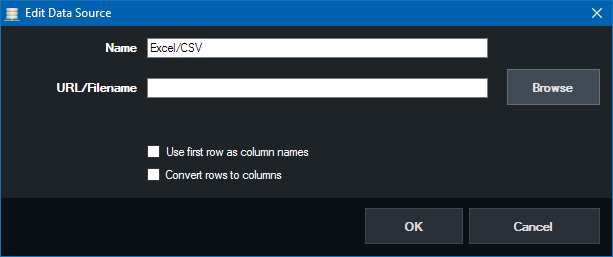
Name: Provide a memorable name to identify this data source.
Use first row as column names: If the first row of a spreadsheet contains the column names, tick this box.
Convert rows to columns: Ticking this box will group all rows in the data source into a single row, numbering the column names in the process. For example a spreadsheet
with Name and Description and 3 rows will become Name1, Description1, Name2, Description2, Name3, Description3 with all data contained in a single row.
When ready click OK to complete setting up the new Data Source.
4. To remove a data source, simply click the Delete button