Quick Start Guide
Step 1 - Install vMix
vMix Social requires a copy of vMix 21 or higher installed on the same machine.
vMix Social is responsible for collating and organising social media content before sending it to vMix for display.
Step 2 - Add Title To vMix
You can use one of the Title templates included with vMix Social or create your own using vMix Title Designer which comes with vMix.
To add a Title provided by vMix Social:
Click Add Input, select the Title tab and browsing through the GT Social tab.
To add a Title created using vMix GT Designer
Click Add Input, select the Title tab and click Browse to locate your custom template.
Step 3 - Start vMix Social
Double click the vMix Social icon to start the application.
Note: vMix Social needs to be started on the same computer as vMix.
The interface is pictured below:
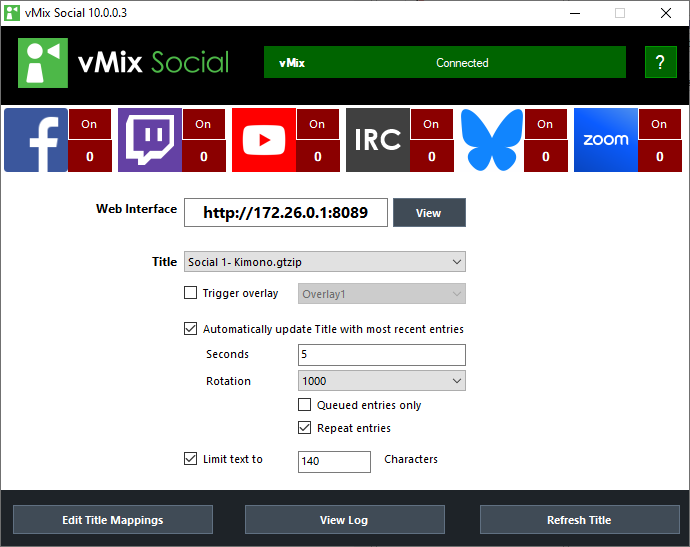
If vMix Social does not show vMix Connected after 30 seconds, see Troubleshooting
Step 4 - Configure Data Source
Step 5 - Configure Title Settings
Step 6 - Configure Title Mappings
Step 7 - Connect to a Data Source
Step 8 - Select content using the Web Interface