« Back to Knowledge Base
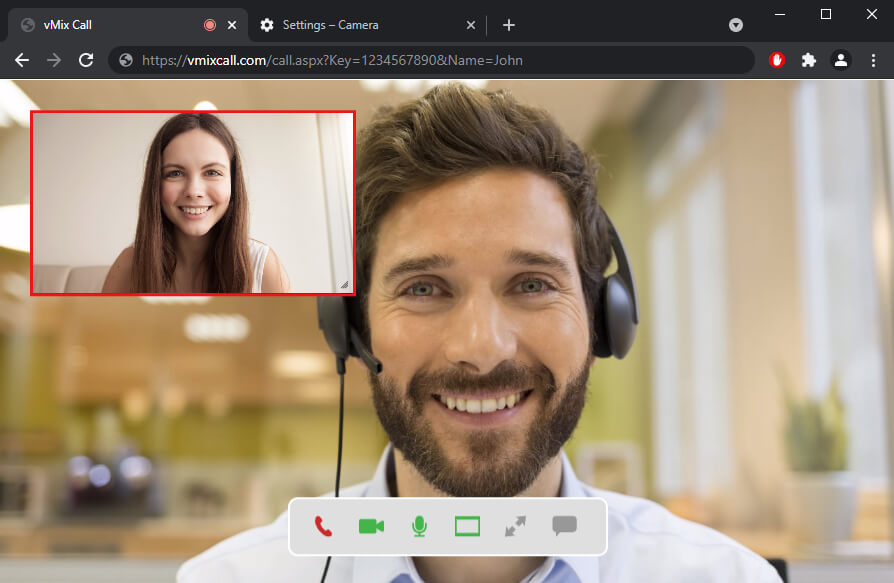
STEP 4. After selecting your camera, go back to the vMix Call tab and refresh the page for the changes to take affect.
How to change or select the camera for vMix Call guests
Guests connecting to a vMix Call need to use a web browser and visit vmixcall.com or advanced.vmixcall.com. Guests must connect using either Firefox or Chrome (for PC, Mac and Android). Or Safari browser for iOS (iPhone / iPad) users.
If a vMix Call guest using either PC or Mac need to change the default camera being used in the vMix Call, this can be done via the web browser settings (vmixcall.com). Or vMix Call menu settings (advanced.vmixcall.com).
For Chrome - www.vmixcall.com
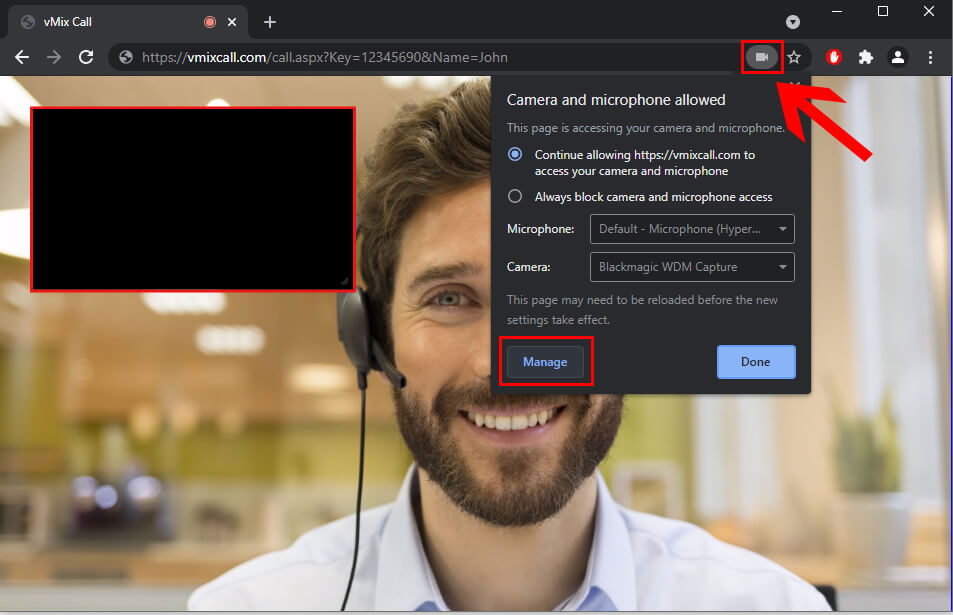
STEP 1. After logging in to the vMix Call, select the Camera icon at the top right corner of the address bar. Then click Manage.
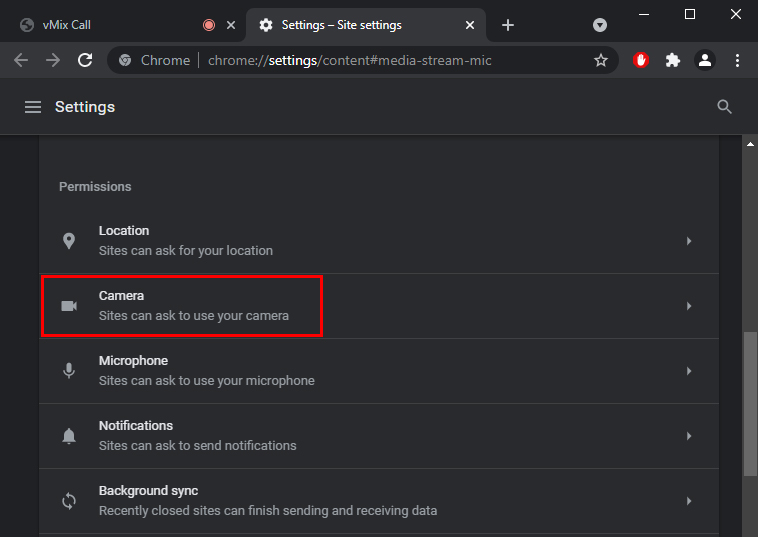
STEP 2. Scroll down to the Permissions section and select Camera.
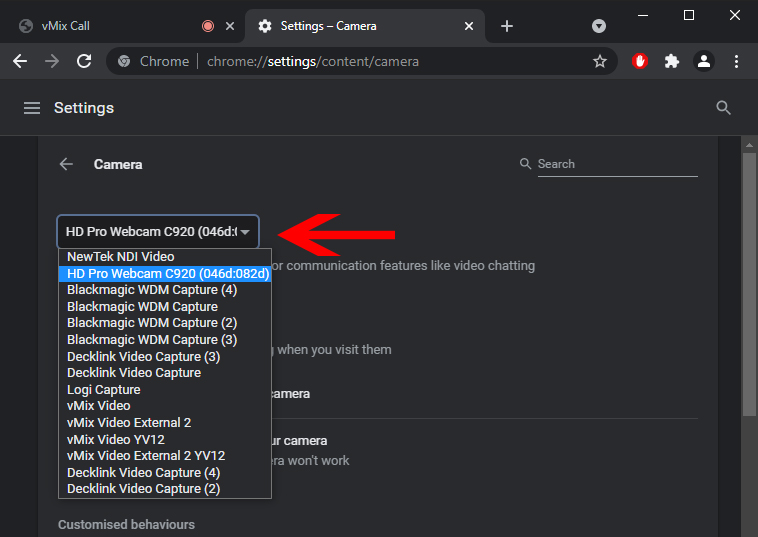
STEP 3. Select the dropdown menu and choose your camera.
STEP 4. After selecting your camera, go back to the vMix Call tab and refresh the page for the changes to take affect.
For Firefox - www.vmixcall.com
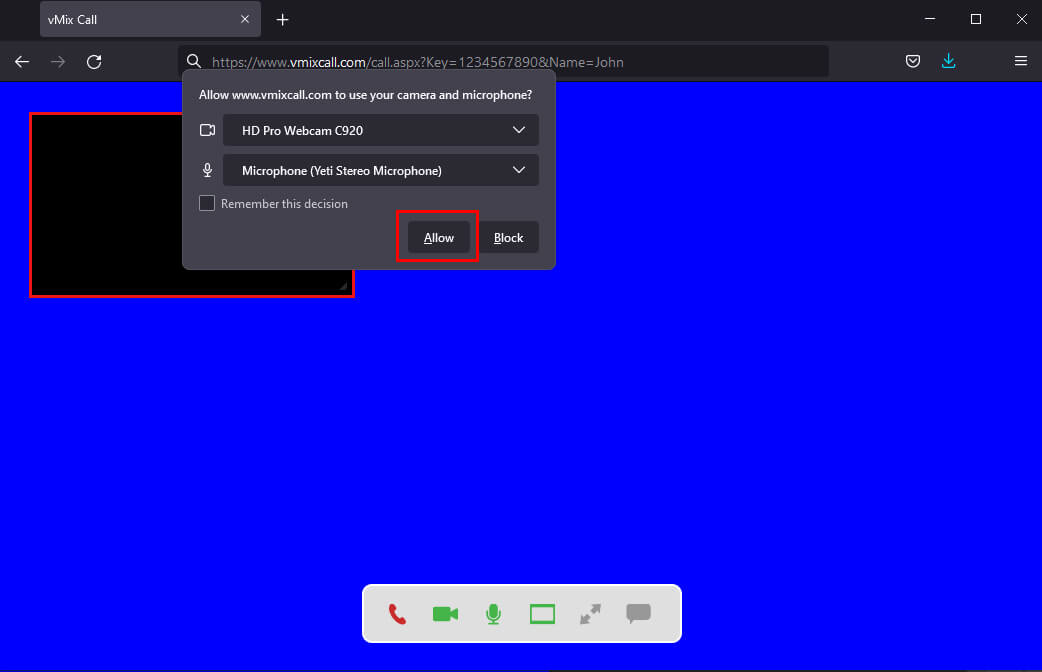
When first connecting to the call, a pop up box will appear prompting you to select your camera and microphone and allow permission. You can select the camera dropdown menu to change it. Then click Allow.
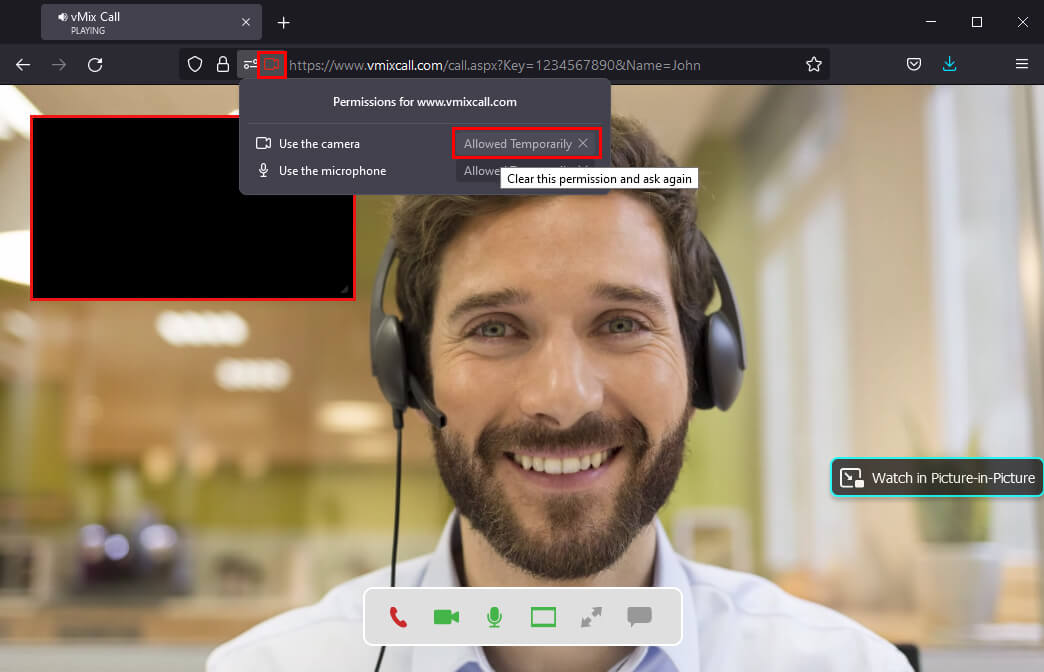
However if you need to change the camera setting after already clicking Allow, click the Camera icon at the top left corner of the address bar. Then click the Allowed or Allowed Temporarily text to the right of the camera to clear it. Refresh your Firefox browser and you will be prompted to select your camera again.
Using advanced.vmixcall.com
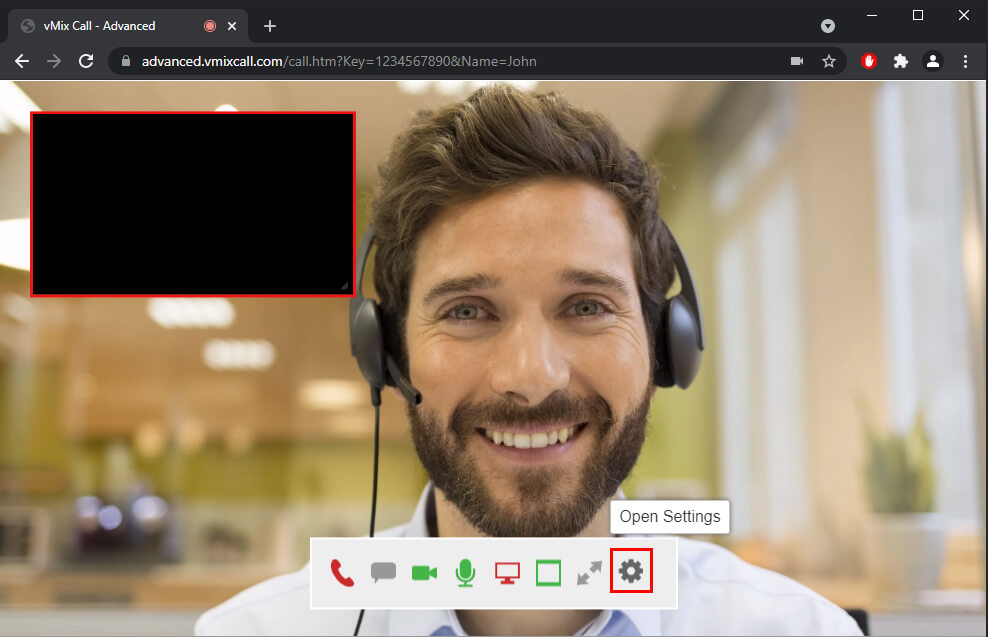
The ability to select or change your camera in vMix Call Advanced is built into the menu at the bottom. Simply click the Settings (cog icon) button.
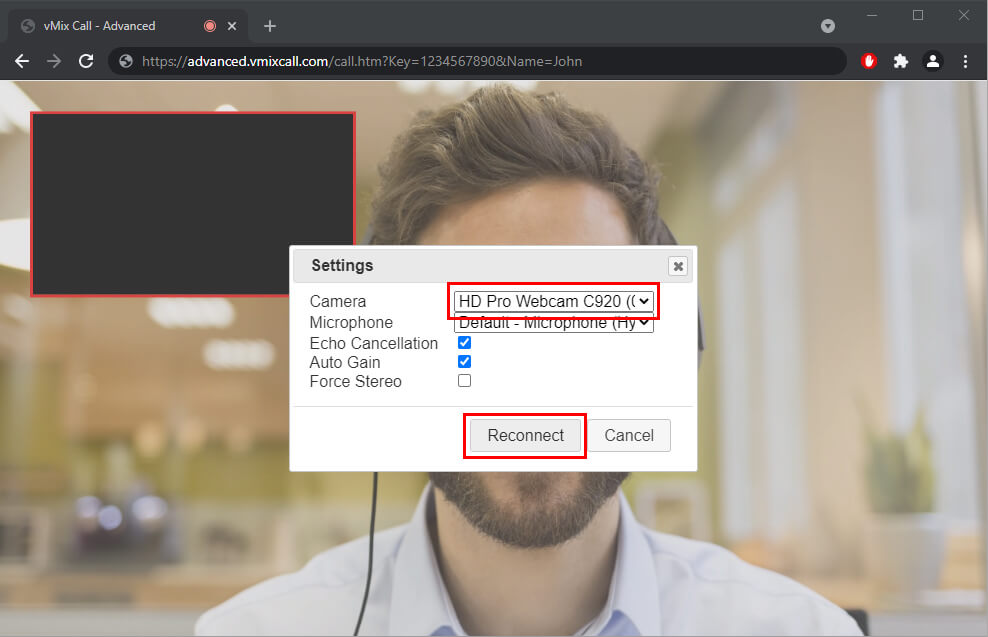
Then select your camera from the Camera dropdown menu and click Reconnect.
Last Updated: Friday, August 27, 2021 3:02:10 PM